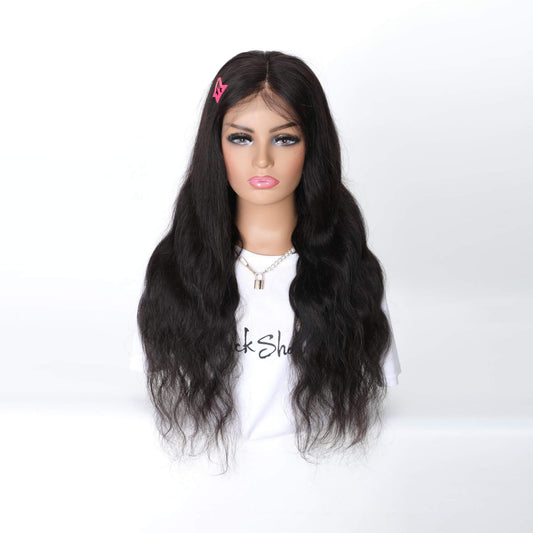
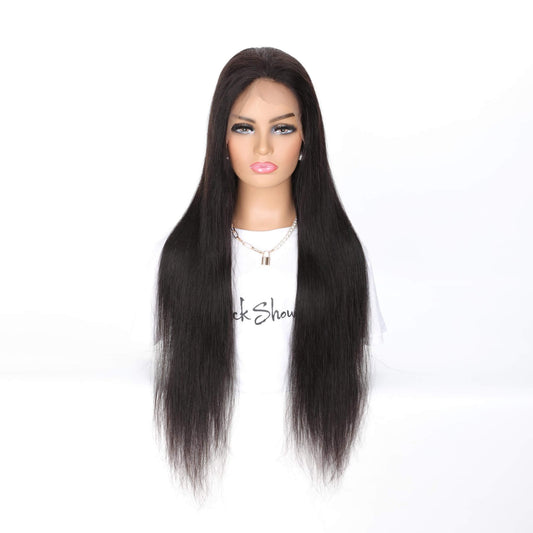
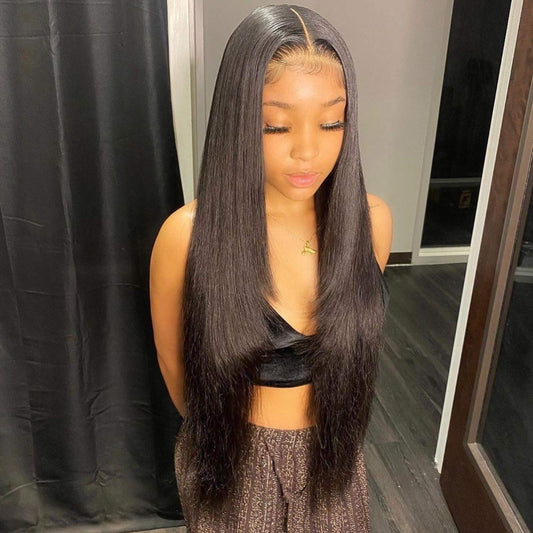
The Ultimate Wig Making Guide! How to Make a Wig With Closure?
If you're anything like myself, the idea of making a wig may seem to be a little far fetched and complicated. Since so many people are taking the plunge into wig wearing, I thought it would be best to help my fellow friends out on the ultimate guide for the best wig-making techniques. Now, before you start freaking out, we do want you to know that it's not as hard as it appears. Wigs can come in a myriad of different styles, and you can also create them in several different ways. Various methods include; glue-less method, quick weave, u-part, full lace closure, or semi-lace closure, and the list goes on. My job is to help you find the best and less tedious methods that will have you making wigs in your sleep! Now, when it comes down to cost, you will be cutting down tremendously by creating a unit yourself. The price of hair, equipment, tools, and time sewing is nothing in comparison of having someone else do it for you. And since we all enjoy saving money these tips will have you looking good and with some extra cash in your pockets. So here we go, the ultimate wig guide, and the best techniques you should know when creating a wig with a closure.
Tools You Will Need

No matter what the reason is that you are deciding to make wigs, you will need the right material so that everything goes according to plan. Most of these items you’ll only need to buy once, and they should last you a very long time.
-Needle & Thread
-Pins (help hold wefts in place)
-Scissors
-Tweezers
-Wig Head / Wig Stand
-Weave Cap or Socking Cap
-Lace Closure and Hair Bundles
-Small Hair products: Leave-in Conditioner (etc.)
Bleach the Knots

When it comes down to weave terminology you probably hear a lot of people say that they’re going to bleach they’re knots, but what exactly does that mean? Well when creating a lace closure, you want to bleach the lace so that way it appears more natural and will look like the color of your scalp. Some may get by with adding makeup concealer or foundation to the closure, but it will not give you that flawless finish you are looking to have. The process isn’t strenuous all you’ll need is the BW 2 powder along with a 40-volume developer. You will mix the combination of the two until you have a thick consistency. With the paste you will place it on the back of the lace closure, spreading it lightly so that it will not go into the hair. Let the solution sit on the knots for about 15 minutes. When time is all up, go through and wash out the bleach with shampoo and conditioner and let closure dry accordingly. At this time, you can also go through and wash the bundles as well for fresh and clean feeling hair.
Pluck Closure to Ensure Natural Hairline
This next step is the most important when it comes down to making a wig with a lace closure. You must make sure you pluck the closure to ensure it looks like a natural hairline. Now if your closure has no lace, you can skip this step. I do believe the best and most natural looking wigs will have some lace in its closure. A great technique you can try, is pinning the closure on to your mannequin head. Once it is secure take a small section in the front where you would create baby hairs and gently pluck hairs in a downward motion. When doing this technique, you are going to want to double check how much you pluck to ensure you are not taking out too many strands. Once you have the look, you desire you can now move on to the next step which is creating the full wig.
Making the Wig
So now that our closure is in excellent condition, we can now focus on constructing the rest of the wig. You will need to bring out your black weave cap and place that on top of your mannequin head. The first thing you should do is secure you closure on to the cap with pins in the exact location you would like best. Once you secure the closure, you can pin it down, and begin sewing it on to the cap.
Sewing Technique for Closure

The best technique for sewing your closure on to the cap is a simple back and forth stitch. The reason for this simple stitch it that you’ll find the hair lays a lot flatter than if you were to use the “blanket method” which we’ll talk about in a few. Of course, it’s different strokes for different folks but doing this simple stitch saves time and moves the process along more smoothly when sewing down the closure.
Sewing Technique for Bundles

When it comes down to sewing you bundles on to your wig cap, there are a lot of different ways you can try things. For beginners I would suggest cutting the tracks it's a lot easier and still creates a flawless finish. I would measure how long you need the wefts to be, pin one end to the cap on the wig head and begin sewing. For more experienced wig makers you can try the flip method which involves no cutting of the tracks but instead rolling one on top of the other. This method can be more time consuming, but it does create a voluminous fuller wig. You can also have a full wig by cutting the tracks, but you would probably have to stack them one on top of the other.
Blanket Method
As for sewing the bundles on to the cap, it will be best to try the blanket technique. So, you’ll take the needle through the weft and cap while pulling one end of the thread to the side and then go back over the thread with the needle. If that sounds a bit confusing try googling or watching YouTube videos on how to sew in a blanket method, it’s a lot easier to watch than for someone to explain. Please take our advice and watch someone do it, the process is very seamless and quite quick to do once you get the hang of everything.
Repeat these steps until you start to see a circle form in your wig. When you get to that point, you'll want to start stacking your tracks straight. Do not add a curve to go along with the circle! The reason for this is to prevent you from cutting excess wefts, and by the time you reach the closure, you'll have one straight track left to complete the wig. When you sew on the last weft, you can cut the excess cap that you don't need near the closure.
Customize Your Wig!

Now that you're all done with your sewing it's time to add your personal touch to your wig. Straighten it, add curls, lay down the baby hairs. Whatever you decide to do don't leave the wig as is on the cap. The number one way to ensure a natural finish is to customize the unit to your liking. When you make your wig feel more like you, we know that you'll rock it to the best of your abilities!
Do You Make Your Wigs?
As you can see we can boil down the basics of making a wig into a few simple steps. For those of you still feeling a little discouraged here are a few more pointers to lift your spirit. One, make sure you give yourself ample time to create your wig unit. So many people get too excited, rush the process and then get upset when the results don't turn out the way it should. Two, measure the circumference of your head. Sometimes wig caps can come in small or big sizes. Buying an adjustable cap can correct the problem of an ill-fitting wig. Lastly, have fun! Making a wig is a process, and we want you to enjoy every moment. The more love and care you put into this project the better it will turn out. Stick to this ultimate wig technique guide, and you are sure never to disappoint. Do you make your own wigs? Have any tips or techniques you would like to share? Let us know in the comments down below.


